What is 3D Printing?
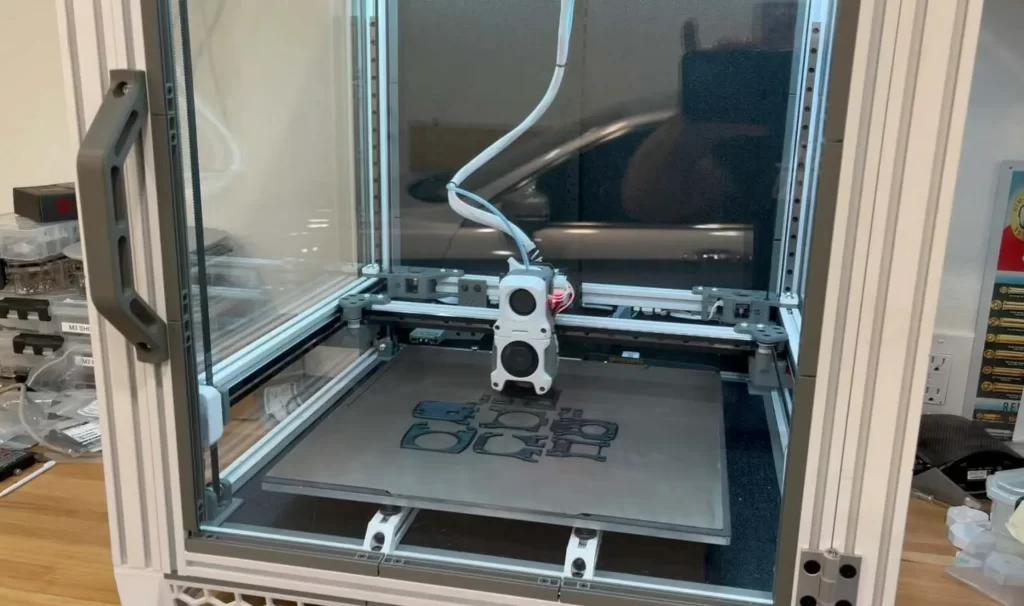
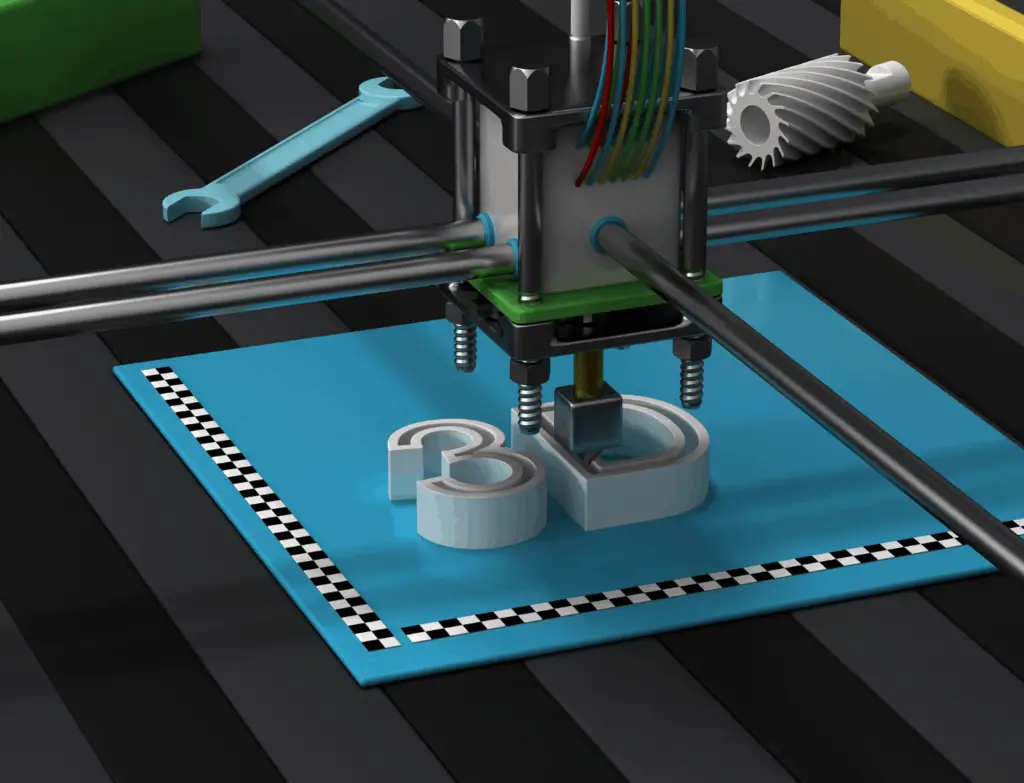
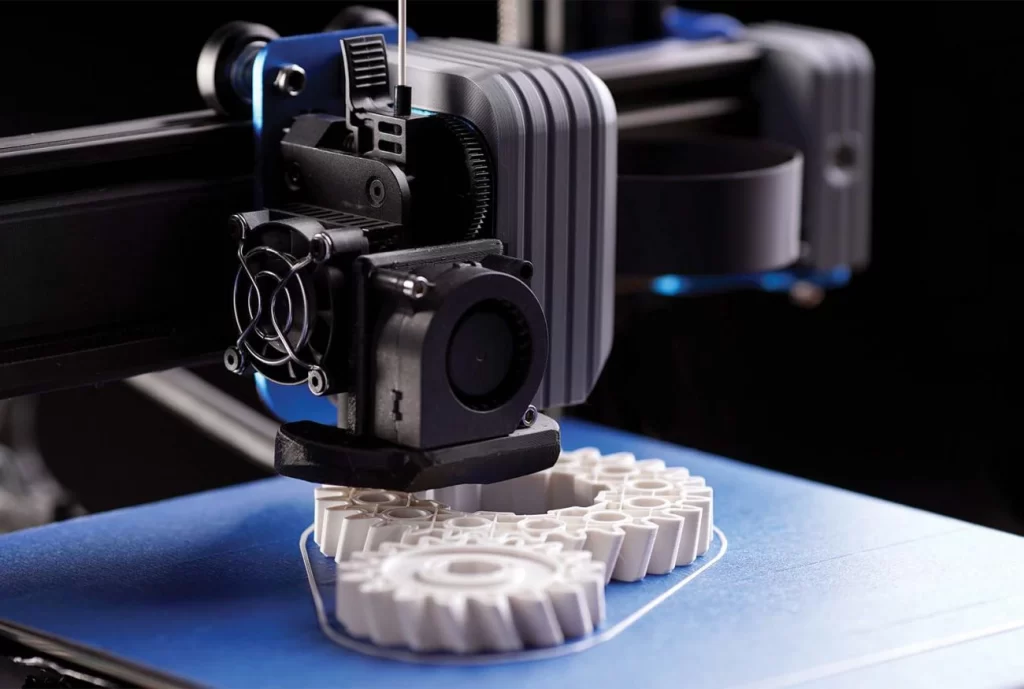
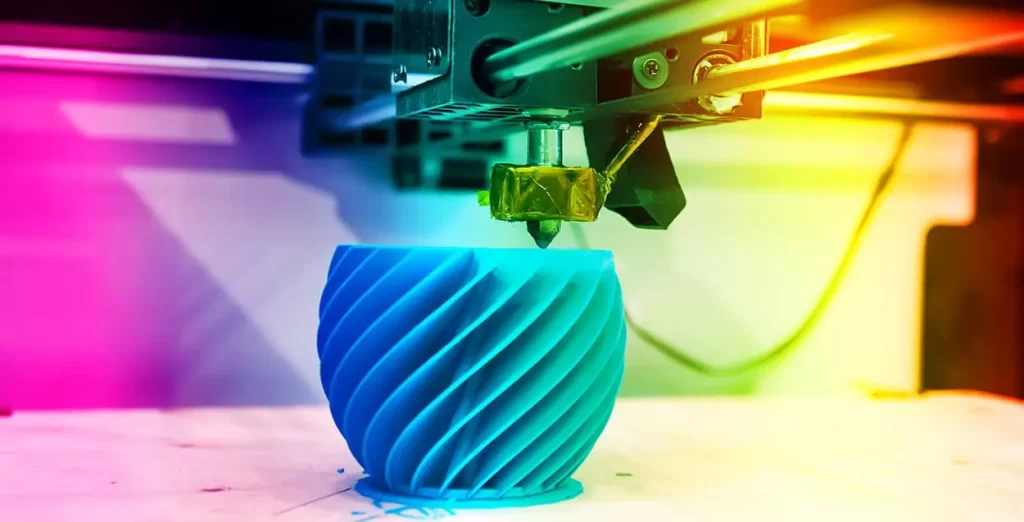
At its core, 3D printing is a revolutionary manufacturing process that allows you to create three-dimensional objects from digital designs. Instead of traditional subtractive manufacturing methods, where material is removed to shape an object, 3D printing uses an additive approach. It builds objects layer by layer, precisely depositing material to create a physical representation of the digital model.
The Process of 3D Printing
To understand how to 3D print, let’s delve into the step-by-step process involved:
Step 1: Design or Obtain a 3D Model
The first step in 3D printing is to have a 3D model of the object you want to create. This can be achieved in two ways. You can either design your own model using 3D design software, such as CAD (Computer-Aided Design), or find pre-existing models from online repositories, such as Creality Cloud. There are numerous websites where you can download ready-to-print 3D models, catering to various interests and industries.
Step 2: Prepare the 3D Model for Printing
Once you have your 3D model, it needs to be prepared for the printing process. This involves a technique called slicing, where the 3D model is divided into thin layers, similar to slicing a loaf of bread. Slicing software, such as Creality Print, is used to generate a set of instructions called G-code, which tells the 3D printer how to move, extrude material, and build each layer. Other than slicing, you can discover pre-verified G-code files on Creality Cloud, ready for direct printing, saving you time and effort.
Step 3: Choose the Right 3D Printer and Material
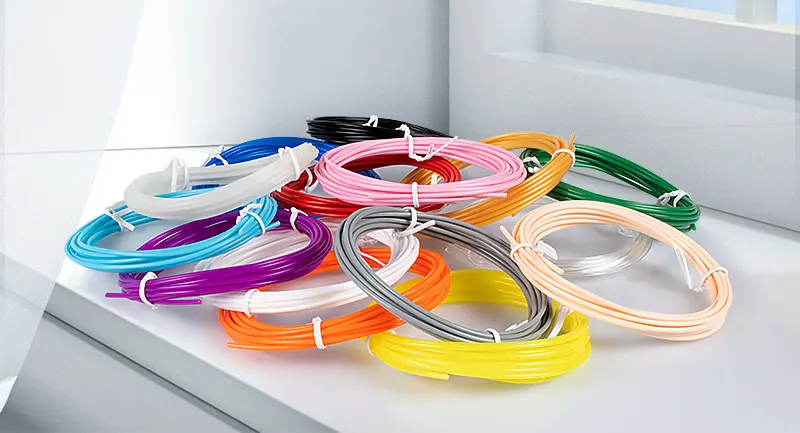
Selecting the right 3D printer and material is crucial for a successful print. There are various types of 3D printers available, each with its own strengths and limitations. Fused Filament Fabrication (FFF), also known as FDM (Fused Deposition Modeling), is the most common and accessible type of 3D printing technology for beginners. It uses thermoplastic filaments, such as PLA (Polylactic Acid) or ABS (Acrylonitrile Butadiene Styrene), which are melted and extruded through a nozzle.
Step 4: Set Up the 3D Printer
Before you start printing, it’s essential to properly set up your 3D printer. This includes leveling the print bed, calibrating the extruder, and ensuring the printer is clean and well-maintained. Each 3D printer model may have specific instructions for setup, so it’s crucial to consult the user manual or manufacturer’s guidelines.
Step 5: Load the Filament and Start Printing
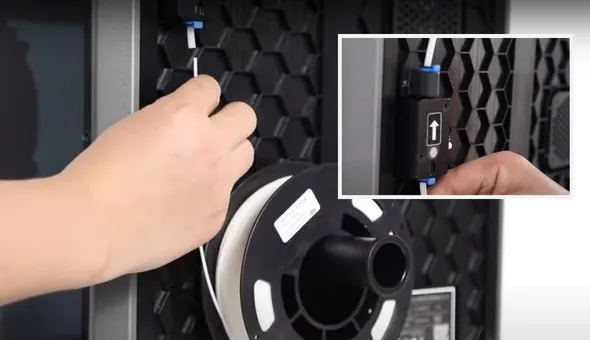
Once your 3D printer is set up, it’s time to load the filament. Most 3D printers have a filament loading mechanism that allows you to feed the filament into the extruder. Follow the instructions provided by your specific printer model to ensure proper loading. After the filament is loaded, you can start the printing process by selecting the file you sliced in step 2 and initiating the print job.
Step 6: Monitor the Print Progress
While your 3D printer is in operation, it’s important to monitor the print progress. Keep an eye on the printer’s display or the software interface to ensure that the print is proceeding as expected. Occasionally, you may need to make adjustments or troubleshoot any issues that arise during the printing process.
Step 7: Post-Processing and Finishing Touches
Once the 3D printer has completed the print, you will have a physical object in your hands. However, depending on the desired outcome, there may be some post-processing steps required. These can include removing support structures, sanding rough edges, applying finishes or coatings, or even painting the object to enhance its appearance.
