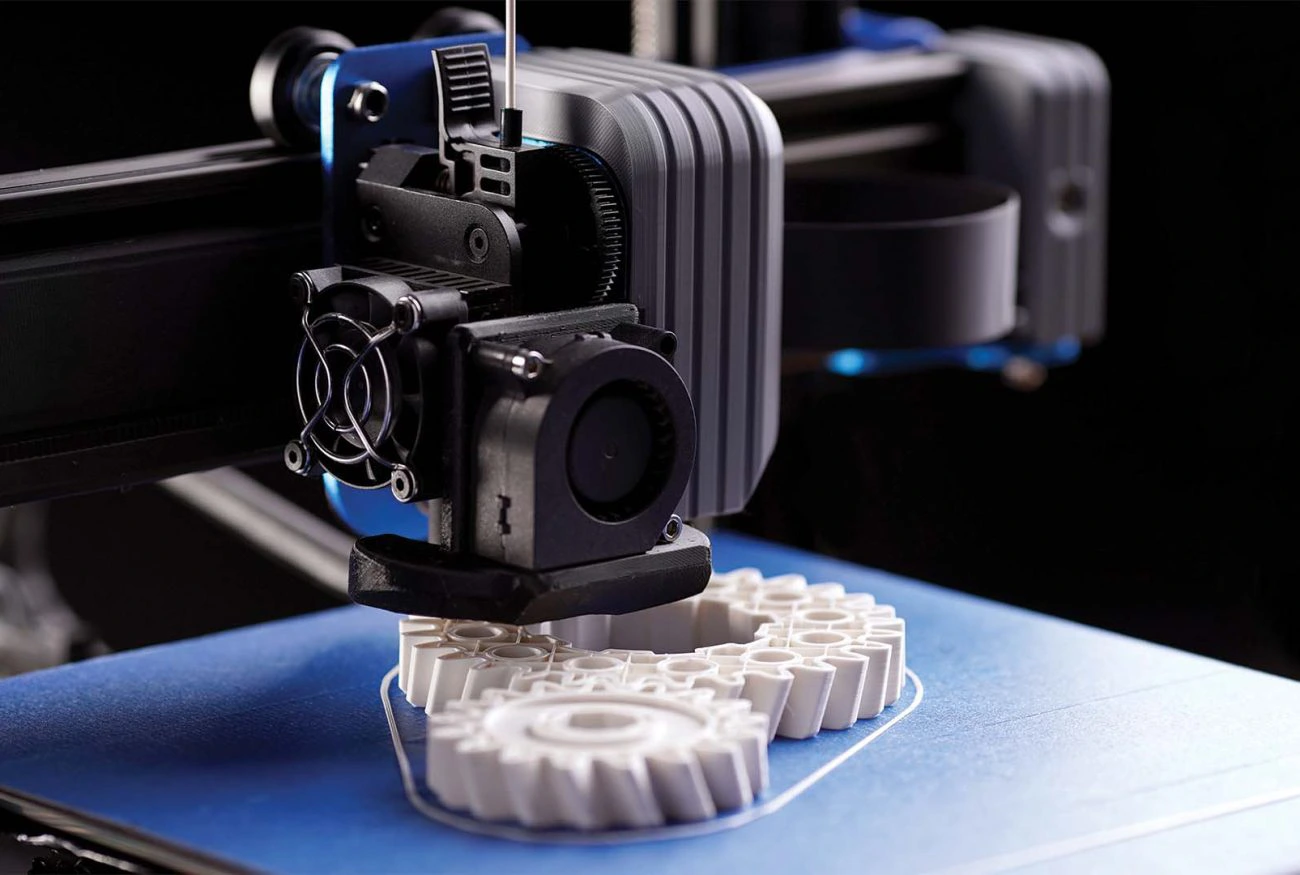
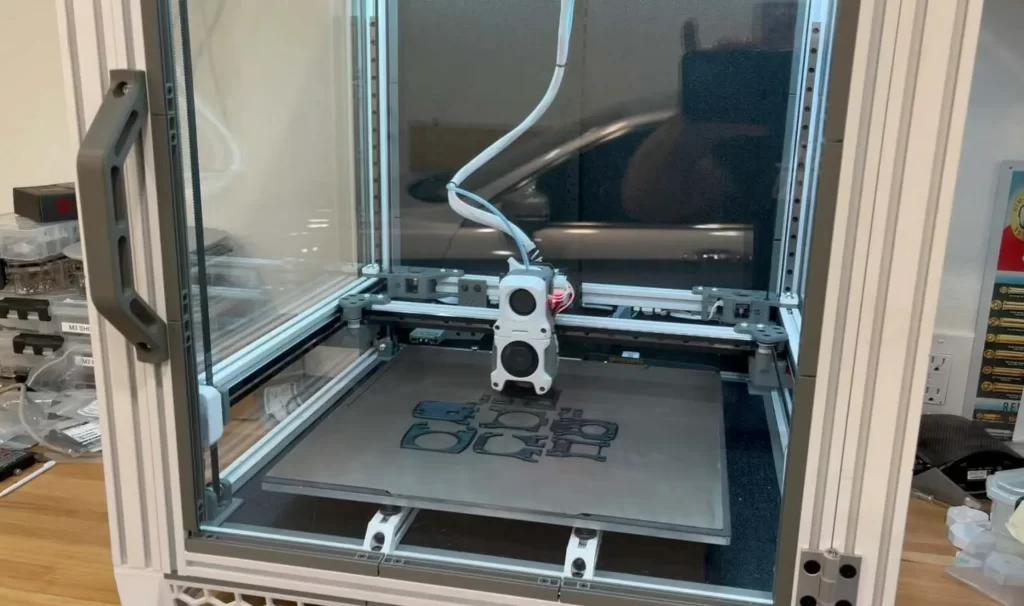
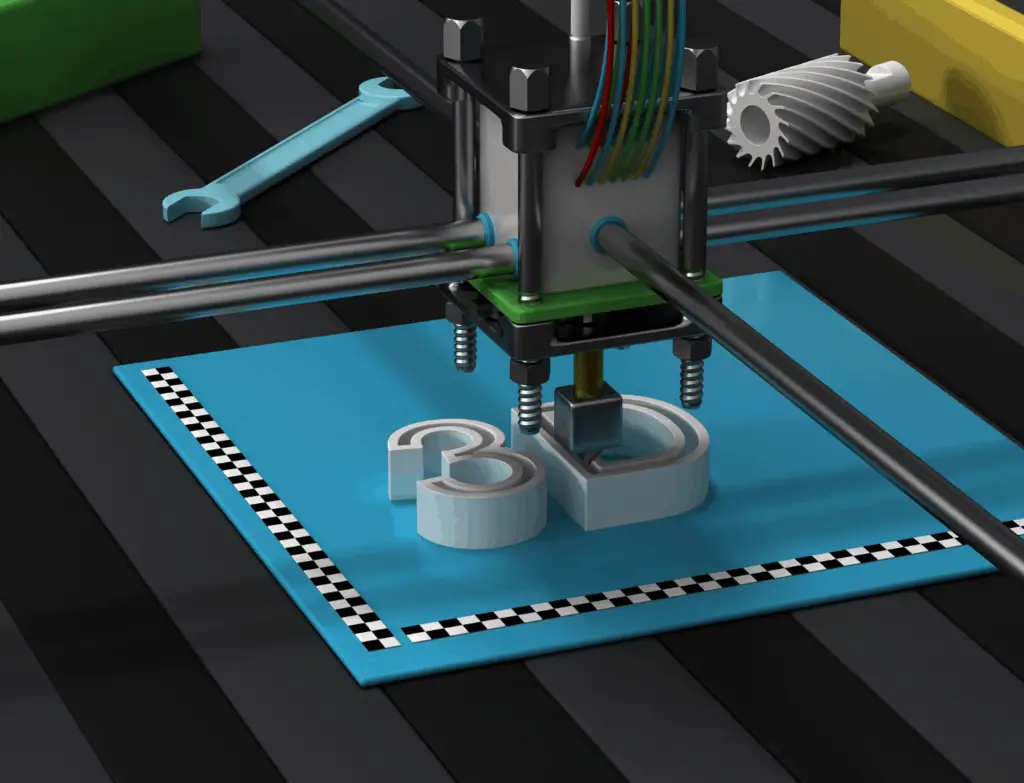
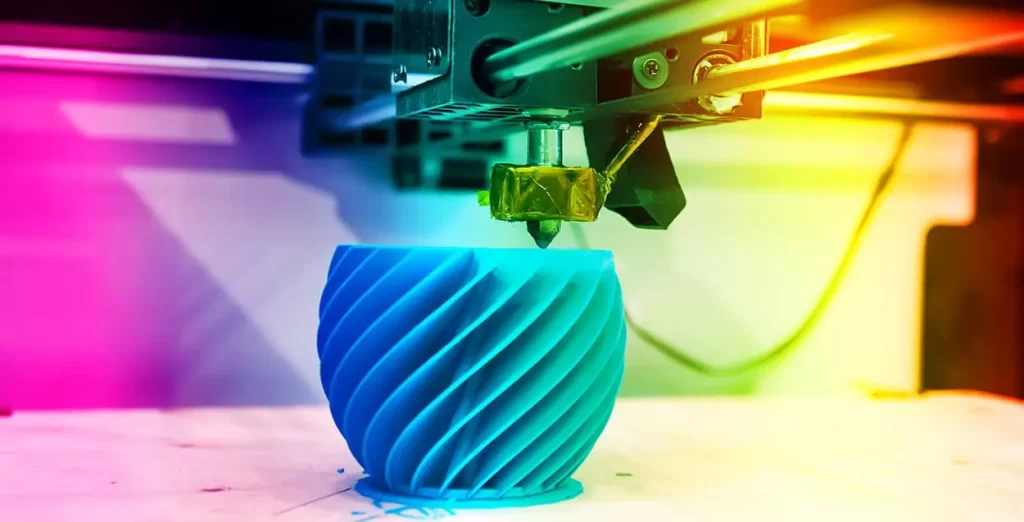
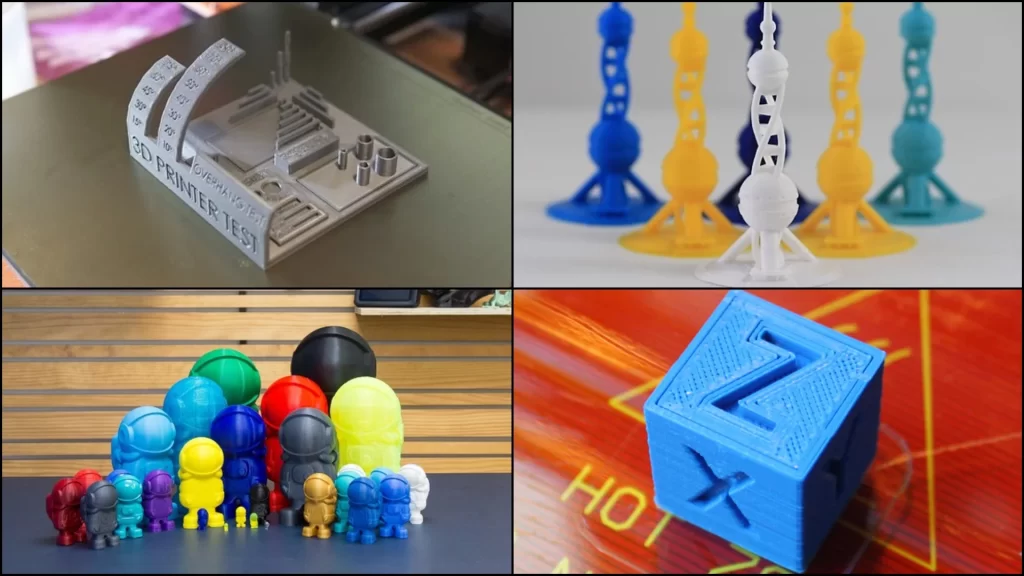
In a shell, 3D printing works by blending layers of material to build an object. In this process, the 3D printer machine works with the direction of a computer 3D modeling software that regulates the process with high precision and exactness.
The 3D printing manufacturing includes several types of manufacturing technologies, all these work in the same way by creating models’ layer by layer essentially. Each one of these types of 3D printing manufacturing processes may utilize a different type of material, finish, and cost.
Some of the most common and utilized types of technologies are FDM, SLS, SLM, SLA, and DLP. Below read on a summary of each one of these technologies.
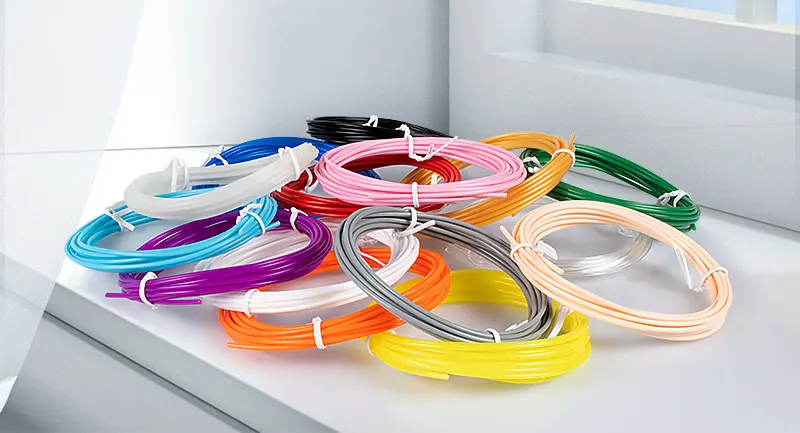
Let us start with the most common of these, the FDM or Fused Deposition Modelling, this is a trading name given by Stratasys. Even though this concept has been around since the ’90s, a lot of 3D printers since 2009 starting to utilize this process. This technology is also known as FFF (Fuse Filament Fabrication). In this type of process, several layers are aligned together until a shape is formed, by melting plastic that is deposited via a heated extruder. The most common materials used or filaments of this type of process are ABS and PLA.
Another SLS or Selective Laser Sintering uses a laser to sinter powdered plastic material and turn this into a solid model. Normally, this type of technology is a popular choice due to the rapid ability to create prototypes and small-batch manufacturing.
SLM or Selective Laser Melting uses a high-power density laser to melt and fuse metallic types of powder. With his type of technology, the metal material can be fully melted into a solid 3D model. This process also allows for the shape to be created layer by layer and create parts that cannot be easily cast with other conventional methods. The file is sliced into layers on a CAD computer software, normally and .STL file, and then it is loaded onto a file preparation software, then the material is melted using a high- power laser beam until a part is complete.
Continuing SLA or Stereolithography creates parts with high levels of detail, smooth surfaces, flawless finishes, and quality. This type of technology is widely used for applications on the mechanical industry and models.
Finally, DLP or Digital Light Processing is a technique similar to SLA that cures the resin materials by using light through a light projector screen. Because of the light usage, an entire layer can be built at once making this process relatively faster but recommendable for low-volume production runs of mostly plastic parts.
- Create a CAD (Computer-Aided Design) file
The first step to creating a 3D printed object is creating a virtual design with computer software or a 3D scanner. On this, the exact dimensions of the object to build are simulated to see how this will look like when finishing the 3D printing. When designing a 3D object utilizing CAD, fewer errors may result while printing, and fortunately, these can be corrected before the process. There is also another way of creating an object manually, like sculpting where a 3D scanner is needed to collect the data, shape, and appearance of the desired object. - Convert the CAD file
Once the design is being created, the next thing is to convert the file into a format that can be read by the 3D printer. One of the most common files used is STL (standard tessellation language). STL files may sometimes create a larger file due to the number of surfaces. There is also another option of a file format used named AMF, Additive Manufacturing File format that stores information more conveniently. - Manipulate the STL file
Once the STL file is created, and ready to be sent to the 3D printer, the orientation and size for the object to be printed must be set. STL files also allow us to repair any inconsistencies in the original. - Prepare the 3D printer
Once the digital file is ready to be printed, all materials need to be ready as well to start the printing process. Once the STL file is ready, then it must be processed by a slicing software that aids in the 3D printing process by converting the object into layers and provides the instructions that later will be received by the 3D printer. - Build the object
Once all the mentioned parameters are ready, the printing process can begin. Some printers may take some time to create the final product as this depends on how complex is the object to print. Many printers have high-end capabilities and print faster. When the process begins, the layers start to build the object with an incomparable resolution using a special measure of micrometers. For instance, the thickness of a typical layer is about 100 micrometers. - Process the final piece
Once the object is ready, this must be handled very cautiously. For instance, putting gloves to handle the printed item is recommendable, finally, brush off any residual powder to clean up the piece. One of the advantages of 3D printing is that a piece can be made within hours, compared to traditional processes of manufacturing, this is very convenient and shows faster results.
