3D printing is changing the way that objects are being produced. To start in the process of 3D printing, you will need to take some steps and considerations. Read on a few below to have an idea of what you need to set up your creation!
Step 1: Choosing the Right 3D Printer
The first step is to contemplate your 3D printer options and choose the one that better fits the purpose of your needs. There are a lot of alternatives and manufacturers, you can always compare models, but make sure to choose a printer that has the right features for your projects and plans.
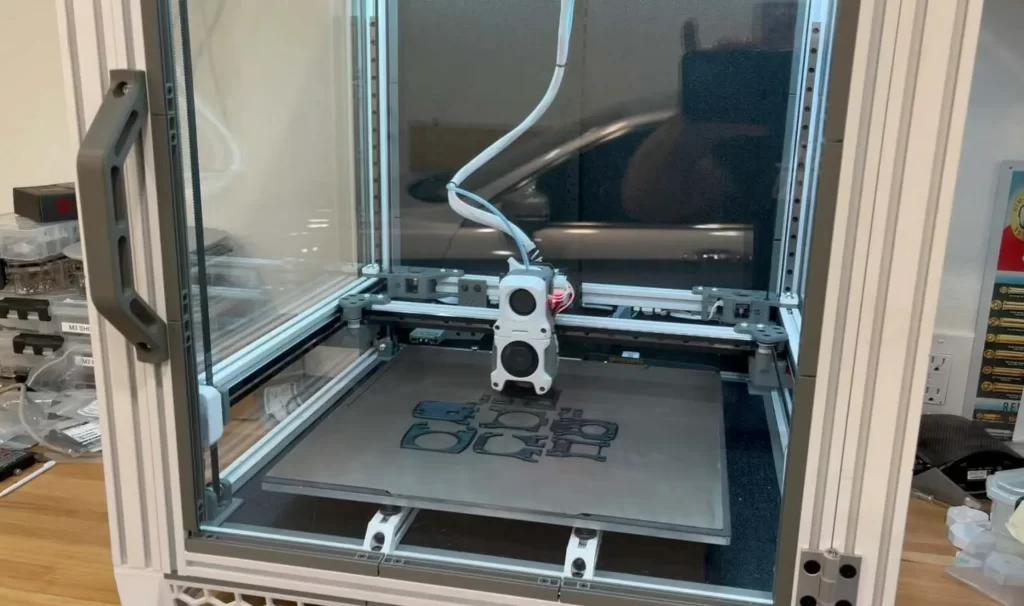
For instance, there are 3D printers that are affordable and rightly designed for education, engineering, and small-batch manufacturing. Make sure your printer has dual extruders that can print simultaneously for a better production capability. This way you can reduce printing time for rapid prototyping. There are particularly good printers that also come with high-resolution cameras, video-assisted calibration systems, and important safety features.
Some other 3D printers are made to build larger industrial originals. These printers are more advanced and have fully enclosed capabilities. Industrial grade 3D printers permit the printing of complex parts and support a variety of filaments and improve even more printing speed. If you need to choose a printer like this, make sure it offers characteristics such as motion controllers, remote user interface, and interchangeable nozzles. If you are looking for a more comprehensive guide on how to choose a 3D printer, visit our 2020 printer buying guide.
Step 2: Choosing a 3D Slicing Software
To create a 3D printed object modeling software is needed. There are a lot of websites and providers that offer free downloadable software programs to design and model, and others that offer a variety of 3D models or mockups that other people have used to create their replicas. Research and look for a slicing software that is intuitive, user-friendly, and has customized advanced features. One important point too is to make sure that the software that you prefer also supports a multi-lingual interface in case you need it.
Step 3: Set the Design for Printing
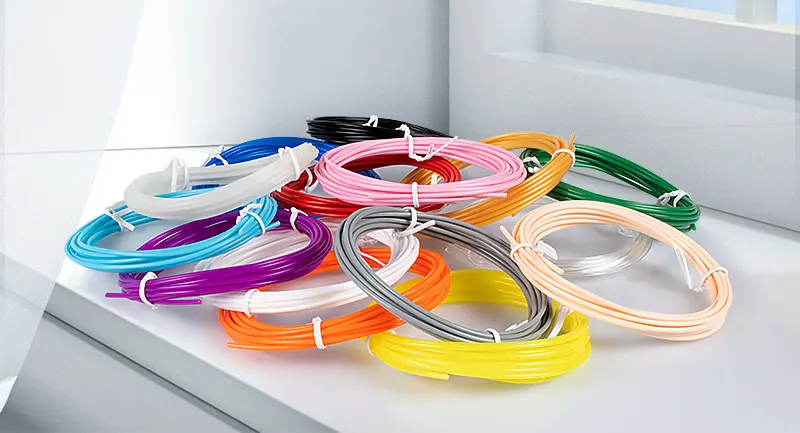
The next step is to set the design ready for the printer. When the printer receives the data from the software it sends the signal to the printer to start building the item using a filament that is like a cord that passes to the plates of the printer. The most commonly used file format for 3D printing designs is STL, (Standard Triangle Language). The original design when being printed is translated into several triangles in a 3D printing space, which sets up for the printers and related hardware to construct the resulting object. The resolution of a file is recommended to be in an optimal size so the machines and software can work smoothly to create your final product.
Step 4: Building the Object
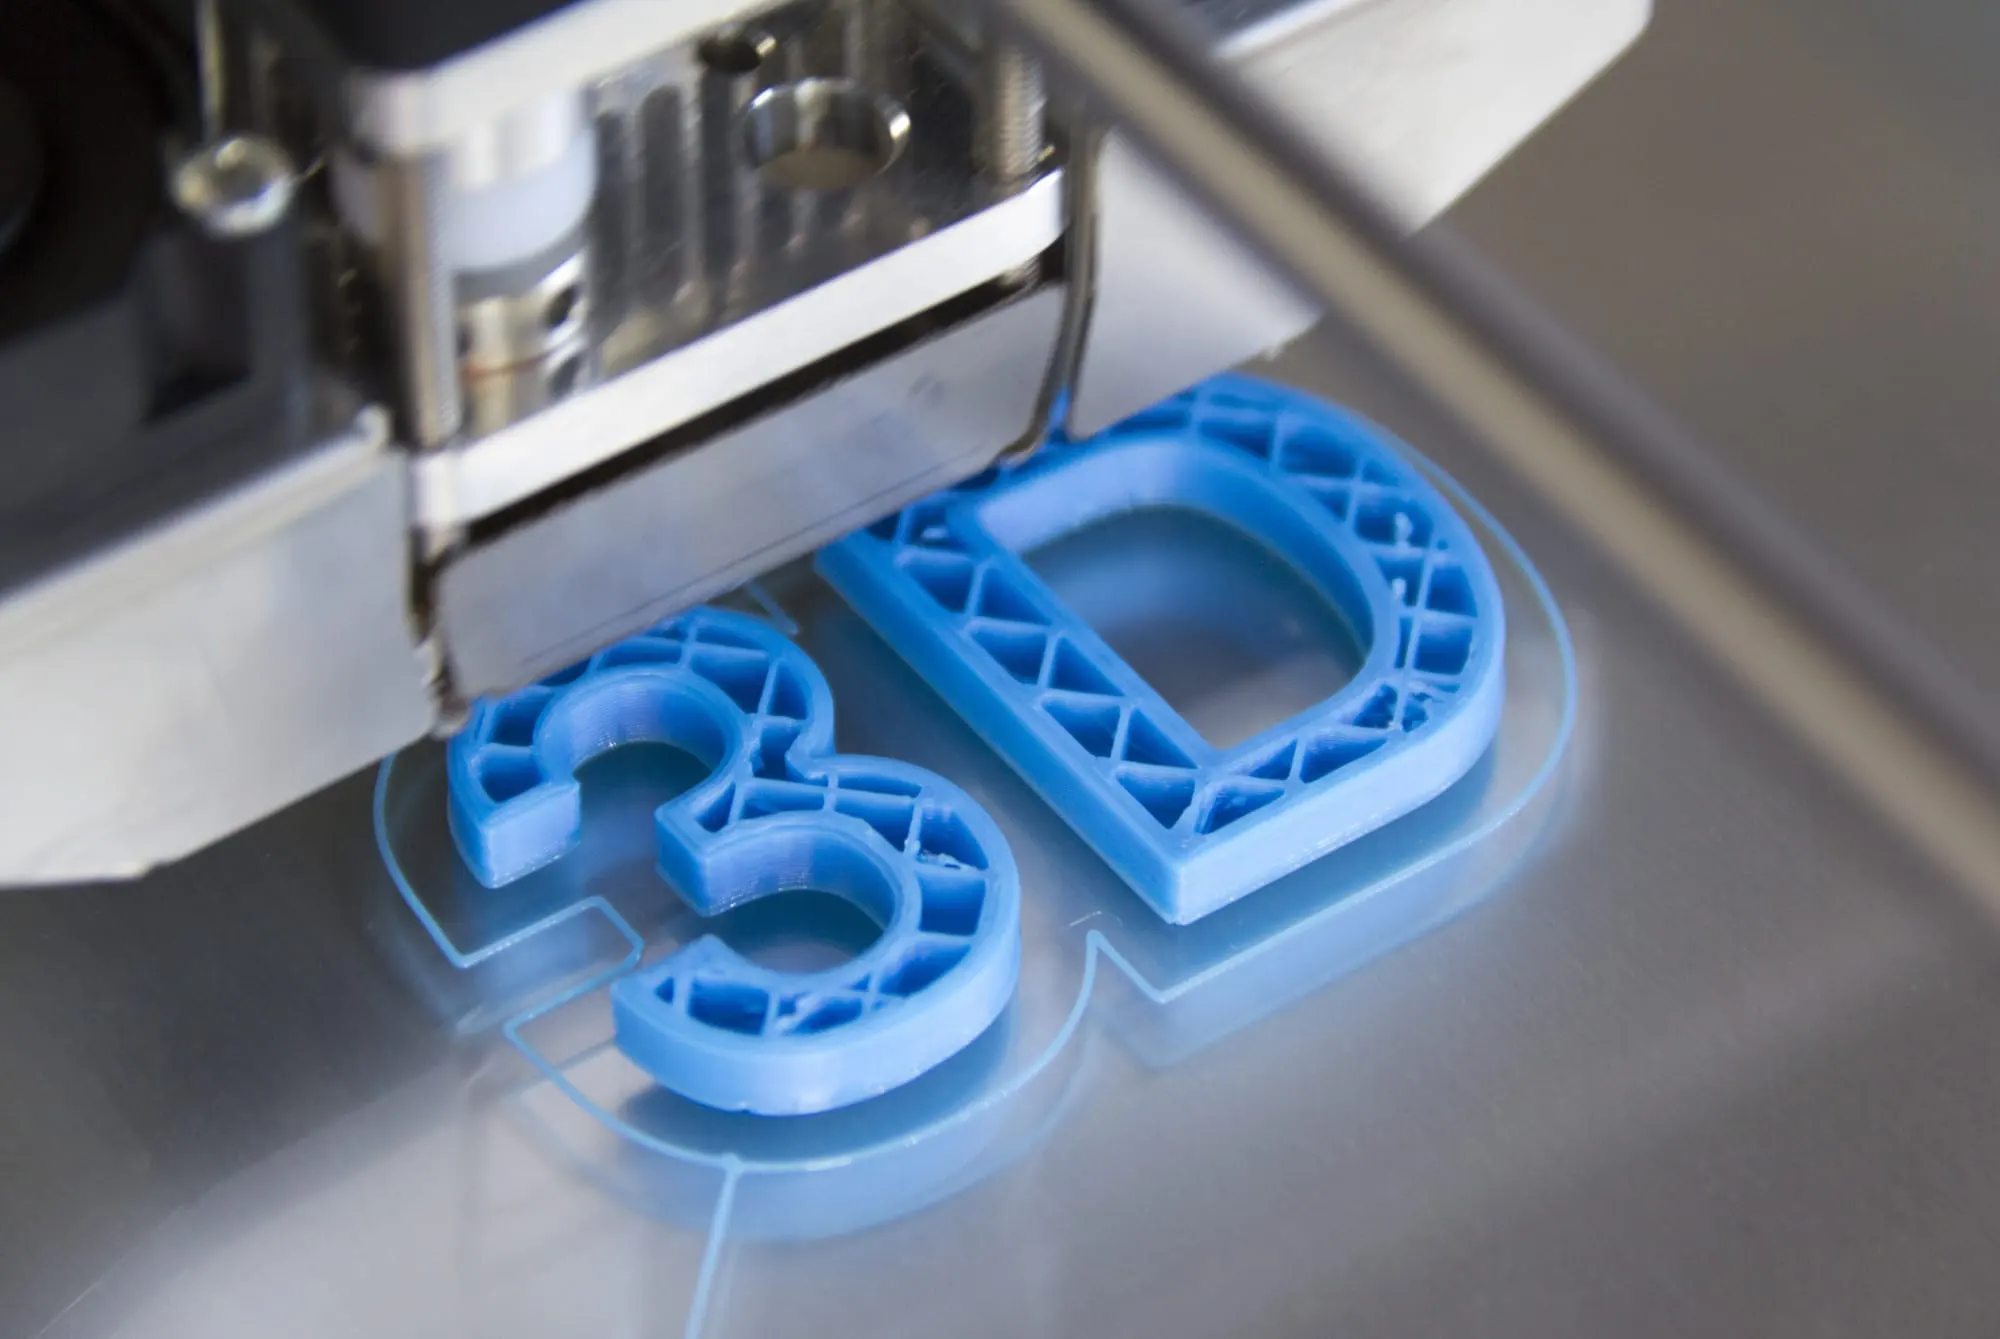
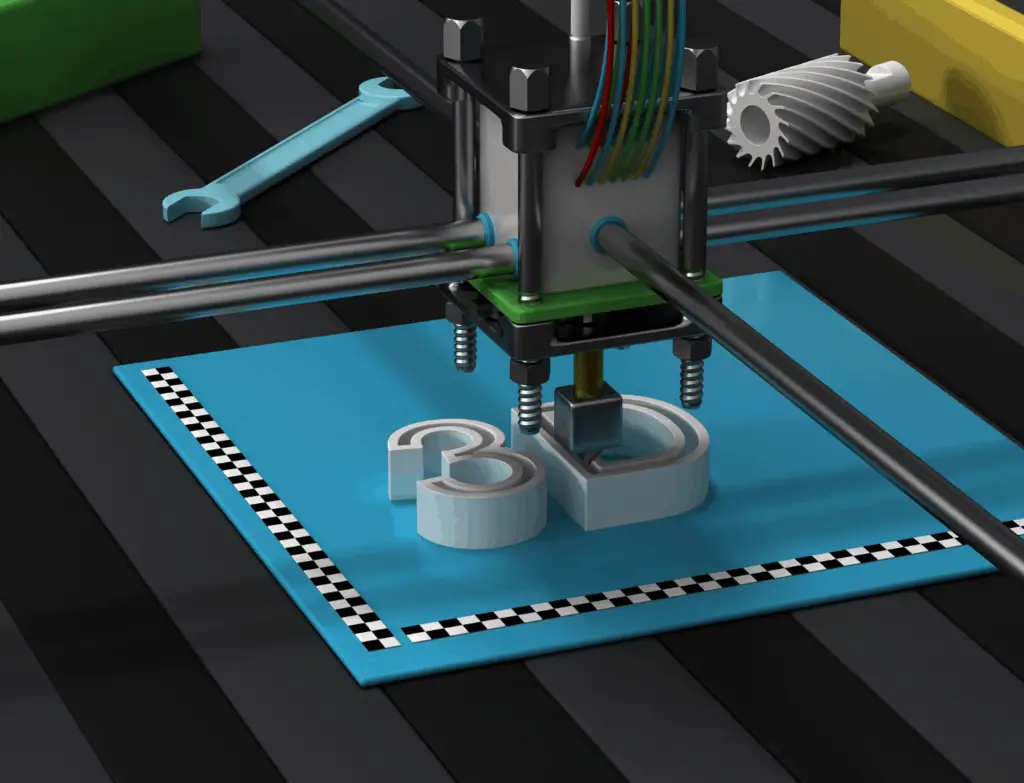
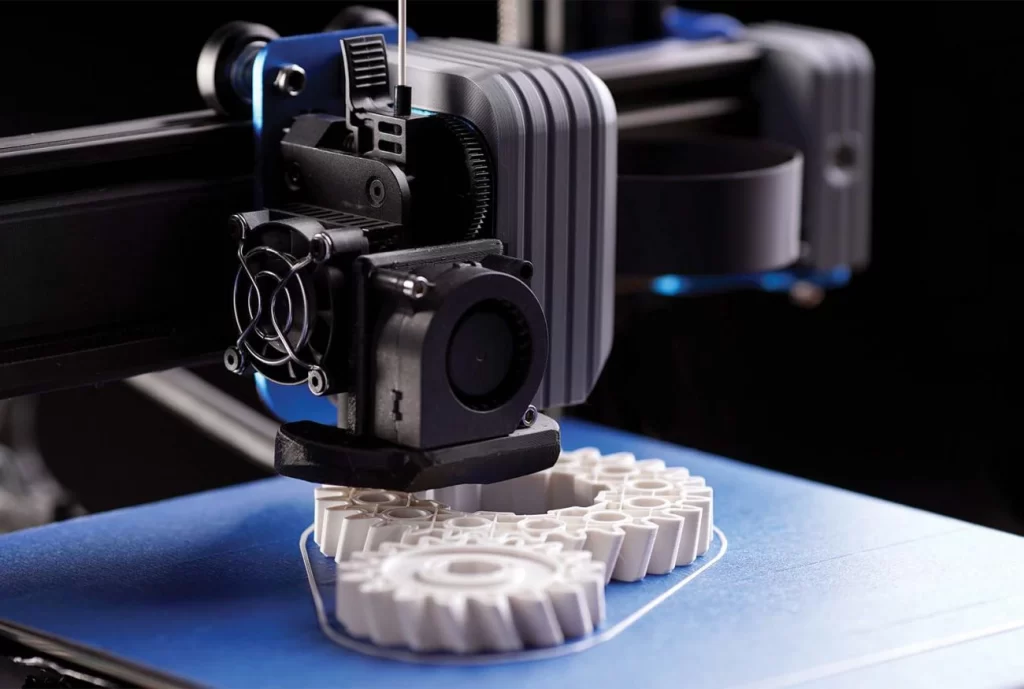
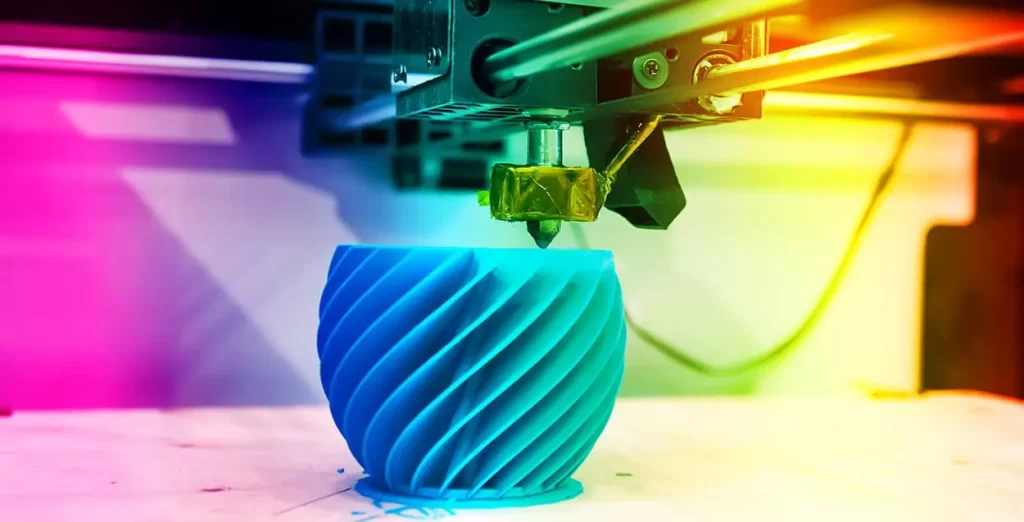
In this last process, the object is created through layering. One layer by another is added until the shape and final object is formed. The process of repeatedly printing over the same area is called Fused Depositional Model (FDM). The most common material for 3D printing is plastic, but there are a lot of other materials that can be used and adopted by 3D printers such as PLA, ABS, HIPS, carbon fiber enforced, flexibles, and much more.
